

Please note: This website contains affiliate links. As an Amazon Associate, we earn from qualifying purchases at no additional cost to you.
Have a new listing? Congrats!
Whether you’re brand new to the business or you’ve been at this for 20 years, the agents who market listings consistently well aren’t relying on memory — they’re running a system. The easiest way to build that system is a new listing checklist you use on every single property.
We originally published this checklist years ago, and a LOT has changed since then (RIP Google Plus and Craigslist ads). So we’ve completely updated it for how listings actually get marketed today — including the AI tools that can shave hours off your launch week.
Quick tool note before we dive in…
If you’re managing multiple listings, your brokerage may offer access to transaction management platforms like Dotloop, SkySlope, or Lone Wolf Transact. These tools can automate these checklists for you. Even if your broker offers these tools, newer AI-powered options like ListedKit are definitely worth checking out. ListedKit will even read your contracts and build your timeline automatically for each listing contract.
But if you’re a solo agent with a handful of listings? A simple Google Sheet or our PDF checklist works just fine. Don’t let the tech stop you from starting.
Phase 1: Before the Listing Goes Live
This is where deals are won or lost. Rushing a listing to market before it’s ready costs your seller money — and costs you your next referral.
Pricing & Research
- Prepare your CMA and pricing strategy — the checklist starts before the agreement is signed
- Pull tax records and run a preliminary title check to verify square footage, legal owner(s), and any liens (everyone on title needs to sign the listing agreement)
- Prepare a seller net sheet showing estimated proceeds at list price
- Collect mortgage payoff and utility info from the seller now, not at closing
Paperwork & Compliance
- Listing agreement signed by all parties
- Seller’s disclosure completed by the seller
- Any additional state/local disclosures signed (example: Lead Based Paint Exhibit)
- Review your compensation and buyer-broker language — post-NAR settlement, make sure your listing agreement and MLS remarks comply with current rules in your market. When in doubt, ask your broker.
- Submit all listing paperwork to your broker
- Confirm any HOA/condo rules and restrictions (sign placement, showing hours, parking)
Property Prep
- Confirm showing instructions with the homeowner (notice required, pets, no showings after 7pm, etc.)
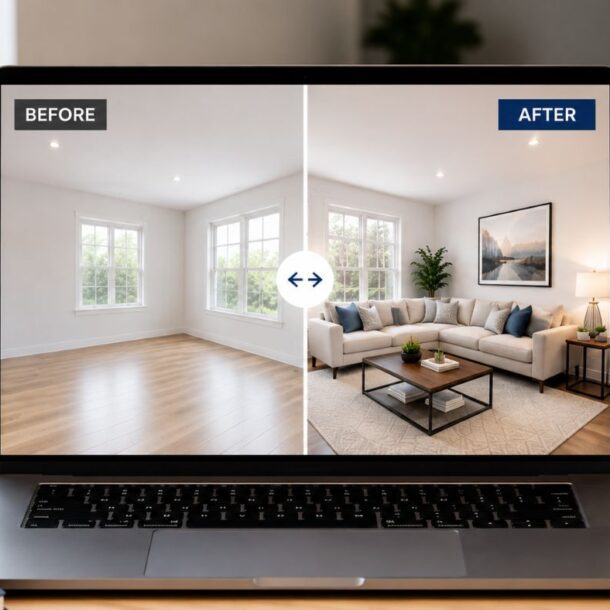
- Bring in a stager or staging consultant if needed — or use AI virtual staging for vacant rooms
- Order/install the yard sign
- Get keys and alarm instructions from the homeowner
- Install the lockbox (electronic/SUPRA preferred — sellers love the access log)
- Set up ShowingTime (or your MLS’s showing platform) for scheduling and automated feedback requests
- Consider a pre-listing inspection — catching surprises before buyers do keeps deals together
- Send your seller a photo-day prep list: declutter, all lights on, cars out of the driveway, pets away
- If your MLS allows a “Coming Soon” status, use it — a few days of pre-launch buzz can drive stronger opening-weekend traffic
Media & Content
- Order professional photos — this is non-negotiable
- Learn more about how to get the best photos of your listings – and you’ll see why this is essential!
- Order a 3D tour (Matterport or similar) and floor plan — buyers now expect both, especially relocation and out-of-town buyers
- Schedule drone photos/video if the lot, view, or location warrants it
- Write your listing description — AI tools like ChatGPT or Claude can draft it in seconds, but ALWAYS edit for accuracy and fair housing compliance before it touches the MLS.
- Create the property brochure or single-page flyer (Canva makes this a 15-minute job)
PRO TIP: You may want to ask your sellers if they would like to read the listing description and/or review the property brochure before the home is listed. I’ve had a few sellers in the past that wanted something changed on the flyer and I had to spend another $50 to $150 having them all reprinted.
Go Live
- Input the listing into the MLS — and double-check the featured photo is your strongest shot
- Share the live MLS listing with your seller
- Confirm syndication to Zillow and Realtor.com
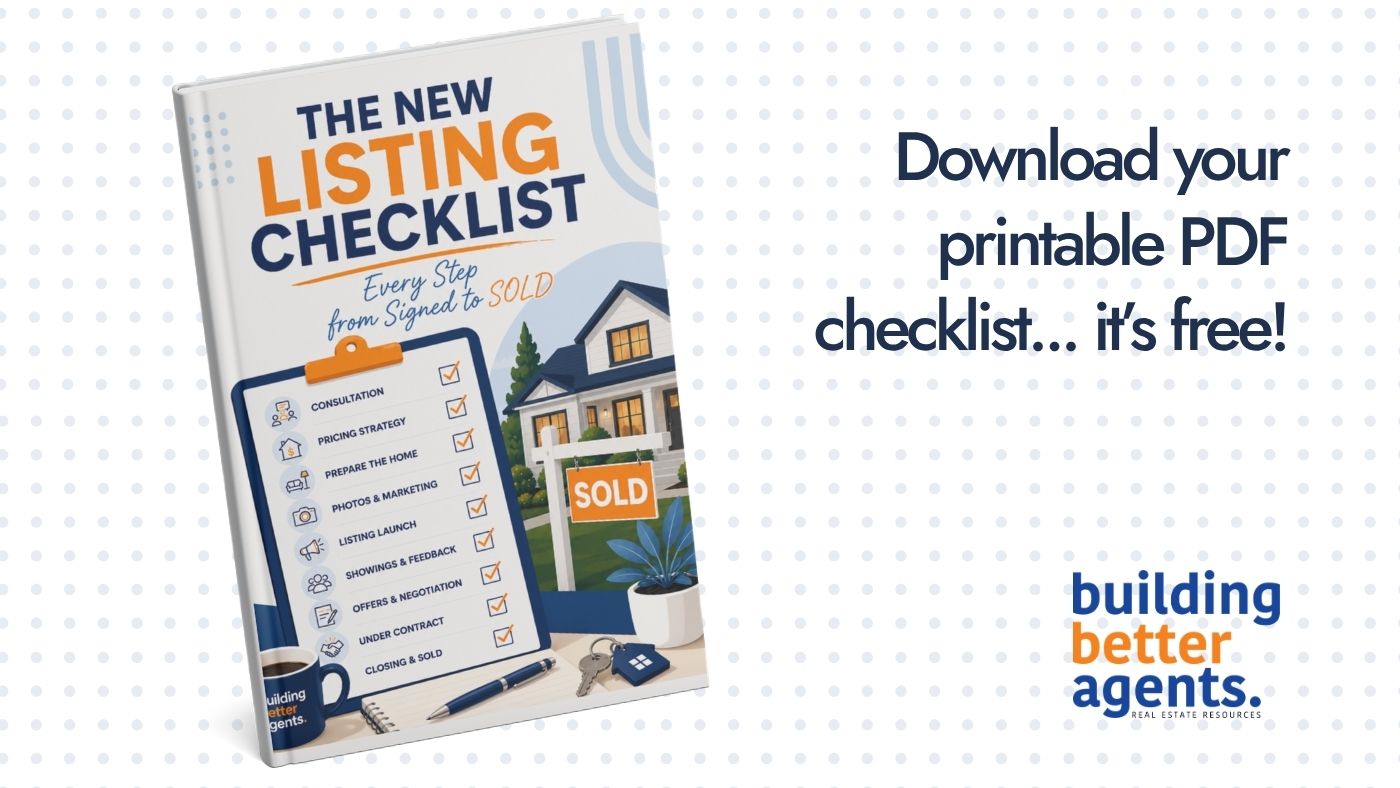
Want this checklist as a printable PDF? Download here.
Phase 2: Launch Week Marketing Checklist
Your listing gets the most attention in its first 7 days — on the portals, in agent inboxes, and in the algorithm. Front-load your marketing here.
- Send an eFlyer/email blast to local agents
- Hand-deliver flyers or postcards to at least 20 nearby homes — and invite the neighbors to the open house (neighbors sell houses!)
- Schedule the open house
- If you haven’t hosted an open house before, here are some helpful tips to getting a good turnout
- Schedule a broker caravan/agent tour if your market does them
- Shoot a walkthrough video — post the full version on YouTube, then cut vertical clips for Instagram Reels, Facebook, and TikTok
- Post the listing on your Instagram and Facebook business page (carousel of best photos + Reel)
- Create a Google Business Profile post featuring the new listing (great local SEO for YOU, not just the house)
- Write a listing blog post on your website with neighborhood details the MLS won’t hold
- Pin your best photos to Pinterest linking back to your blog post or IDX page
- Run a targeted Facebook/Instagram boosted post to your farm area
- Email the listing to your own buyer database, and use reverse prospecting in the MLS to find agents with matching buyer searches
QUICK TIP: Send your seller a marketing summary with links to everything above. This one email does more for your reputation than any of the individual tactics — sellers who see the work refer you.
Phase 3: No Offer After Week One? Do This.
If the launch didn’t produce an offer, don’t just “wait and see.” Work the plan:
- Forward all showing feedback to your seller within 24 hours — silence is what makes sellers nervous
- Commit to a weekly seller update call or email, every week, no exceptions
- Schedule a formal price review at day 14 and day 30 — putting it on the calendar upfront makes the pricing conversation expected, not awkward
- Send a second eFlyer to local agents (“Price improvement” or “Open this Sunday” angle)
- Refresh the listing description on the MLS — new opening line, new highlighted features
- Verify the best photo is still the featured image; rotate if showings are slow
- Post a fresh Reel or photo set with a different hook (the kitchen this time, not the exterior)
- Run a second targeted ad to a new audience segment
- Gather and review ALL showing feedback in ShowingTime
- Review feedback with your seller and discuss adjustments to staging, access, and — yes — pricing
- If your seller is hesitant about a price adjustment, these scripts help
Phase 4: Under Contract to Post-Closing (yay!)
Most listing checklists stop at “accepted offer” — but this is exactly where deals fall apart and where your next three referrals are decided. Don’t put the checklist away yet.
Under Contract
- Review offer(s) with your seller and update the net sheet for the actual offer terms
- Send the executed contract to your broker and all parties
- Confirm earnest money has been deposited and receipted
Contract to Close
- Update the MLS status (pending/contingent)
- Track every contingency deadline — inspection, appraisal, financing, due diligence. This is where AI transaction tools like ListedKit earn their keep: upload the contract and the key dates populate your timeline automatically
- If you’d like to try ListedKit, use offer code LKPARTNER26 for 10% off
- Submit all paperwork to your broker for review / approval
- Schedule the inspection and negotiate repairs if needed
- Arrange appraisal access
- Schedule closing / coordinate with buyer or buyer’s agent
- Share title/attorney and lender contact info with all parties
- Confirm buyer financing approval (aka “Clear to close”)
- Remind your seller to schedule utility transfers and their change of address
- Submit complete contract to your brokerage (including any amendments or addendums)
- Schedule the final walkthrough
- Closing day: keys, garage remotes, and codes ready to hand over
Post-Closing (Where Referrals Are Made)
- Remove the sign and lockbox; change the MLS status to sold
- Deliver the closing gift
- Request a review on Google and Zillow while the experience is fresh — this single step is the highest-ROI item on the entire checklist
- Ask for referrals directly
- Add your seller to your past-client follow-up plan: anniversary notes, market updates, annual check-ins
- Post the Just Sold on social — with your seller’s permission
Want this checklist as a printable PDF? Download the free New Listing Checklist and keep it in every listing file.
FAQ: New Listing Checklists
What should a listing agent do first with a new listing?
Lock down the paperwork: signed listing agreement, seller’s disclosures, and broker submission. Nothing else on the checklist matters if the file isn’t compliant. Then move immediately to property prep and professional photos.
How long should it take to get a listing live?
For a well-prepared home, 5–7 days from signed agreement to live on the MLS is a realistic standard: 1–2 days for prep and staging decisions, photos by day 3–4, and MLS input once media is delivered.
Do I really need a 3D tour and video for every listing?
In most markets, yes. Buyers filter online before they ever book a showing, and listings with tours and video consistently get more saves and showing requests. At minimum: professional photos, a floor plan, and one short vertical video.
Can AI write my listing description?
It can write your first draft — and it’s very good at it. But you’re responsible for what gets published. Always verify facts (square footage, features, school info) and check for fair housing compliance before submitting to the MLS.
What should a listing agent do after closing?
Remove the sign and lockbox, update the MLS to sold, deliver a closing gift, and — most importantly — request a review and referrals while the experience is fresh. Then move the seller into a long-term follow-up plan. Past clients are the least expensive lead source in real estate.
Don’t forget your free printable PDF! Download here.
Please note: This website contains affiliate links. As an Amazon Associate, we earn from qualifying purchases at no additional cost to you.